This guide provides detailed instructions for integrating PortSwigger Burp Suite with the Nopsec Platform.
Step 1. Select the Scope
First, decide what you want to include in the report.
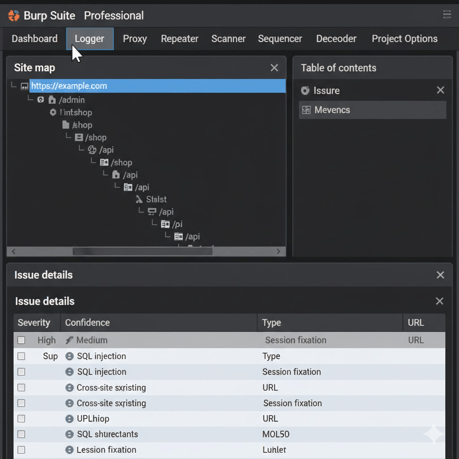
- In the Target > Site map tab, expand the target application's tree.
- To report on all findings for a host, select the top-level host entry (e.g., https://example.com).
- To report on a specific branch or endpoint, select that specific branch in the tree.
- To report on individual issues, select one or more issues from the Issues tab in the lower panel. You can select multiple issues by holding Ctrl (Windows/Linux) or Cmd (macOS).
Here's an example of selecting a host in the Site map:
Step 2: Upload Burp Suite File to the Nopsec Platform
- Navigate to the “Integrations” page of the Nopsec Platform then click on the "Applications" Tab.
- Next, click on the “Add Integrations” button next to Bloodhound Upload
- Provide a name for the integration in the Connection Name box then click Save and Connect to enable the integration. NOTE: Naming convention does not support dashes.
- Click the Upload a Data File button and select the CSV file generated using the steps above.
- Once uploaded and depending on the size of the file data processing may take several minutes.